When and How to Replace Moldy Insulation
Gus Koedding • March 30, 2025
Replacing moldy insulation is crucial for maintaining a healthy living environment and ensuring your home's energy efficiency. Here's a comprehensive guide on when and how to address this issue:
When to Replace Moldy Insulation:
- Visible Mold Growth: If you notice mold on your insulation, it's a clear indication that replacement is necessary. Mold can compromise indoor air quality and pose health risks.
- Moisture Damage: Insulation that has been exposed to moisture or water damage becomes a breeding ground for mold and loses its effectiveness.
- Unpleasant Odors: Persistent musty smells can indicate mold presence in insulation, even if it's not immediately visible.
- Health Symptoms: Experiencing unexplained allergic reactions, respiratory issues, or worsening allergy symptoms indoors may signal mold-infested insulation. EnergySmart Insulation
How to Replace Moldy Insulation:
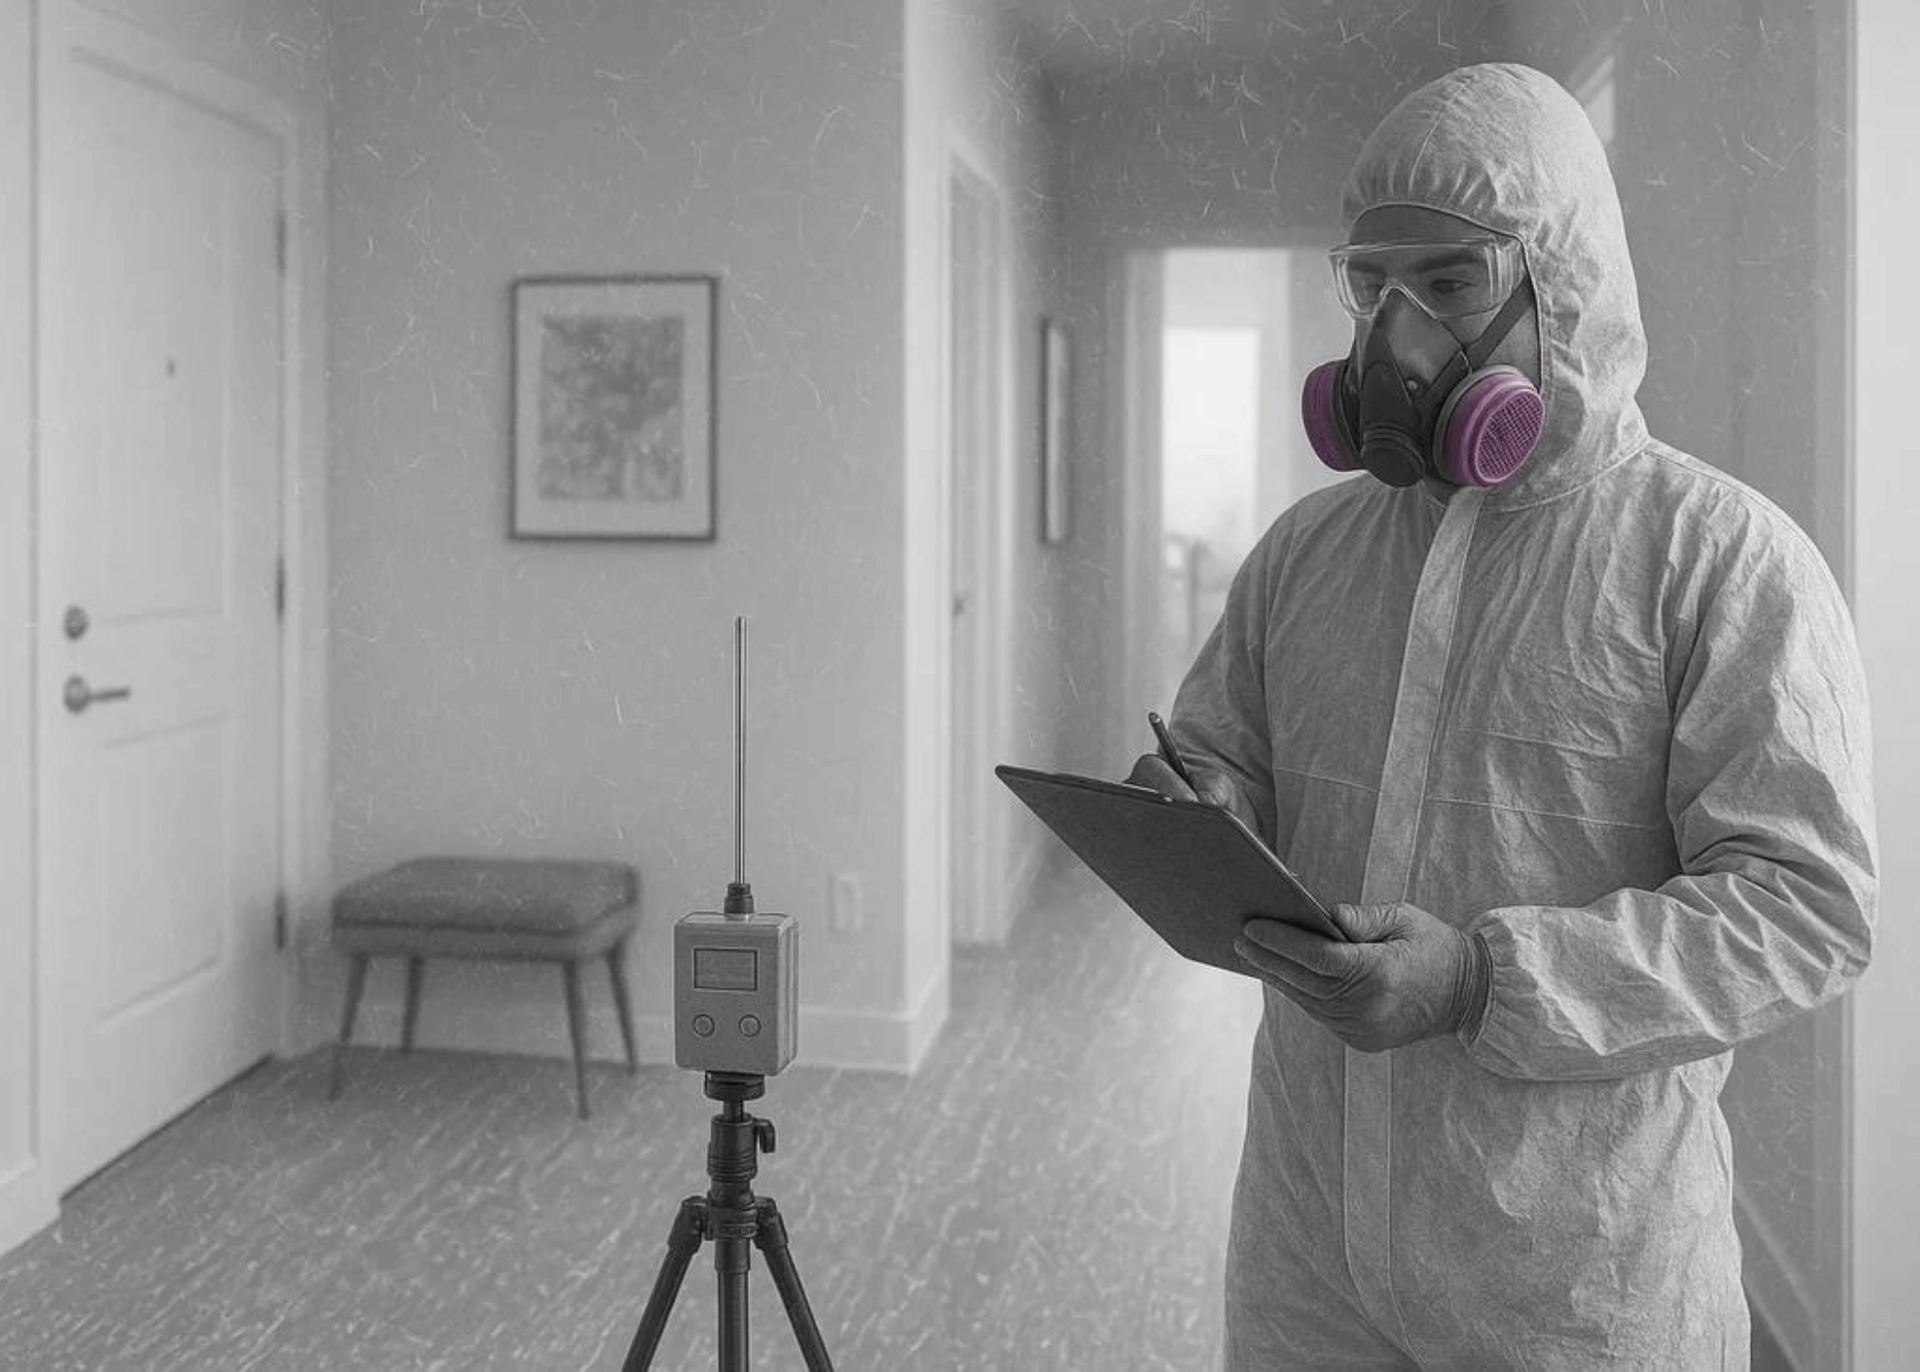
- Professional Assessment: Engage a certified mold remediation specialist to inspect the affected areas. They can accurately assess the extent of mold growth and recommend appropriate actions. Mold Busters
- Safe Removal: Professionals should handle the removal of moldy insulation to prevent the spread of mold spores and ensure safety. DIY removal is not recommended due to potential health risks.
- Address Moisture Sources: Identify and rectify the underlying causes of moisture intrusion, such as leaks or inadequate ventilation, to prevent future mold growth. Bob Vila
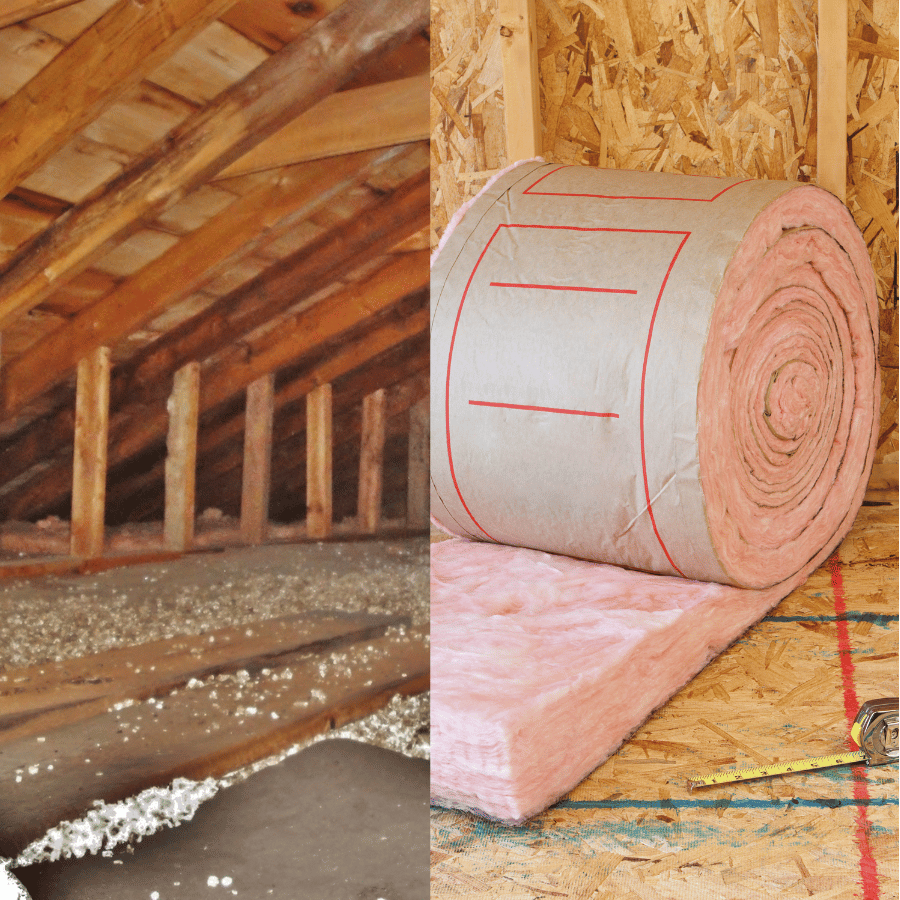
- Choose Mold-Resistant Insulation: When replacing insulation, opt for materials with mold-resistant properties, like closed-cell spray foam or mineral wool, to reduce the risk of future mold issues. Bob Vila
- Ensure Proper Installation: Proper installation is vital for insulation effectiveness and longevity. Consider hiring experienced professionals to ensure the job is done correctly.
By following these steps, you can effectively address moldy insulation, enhancing your home's comfort and safeguarding your health.
Follow us
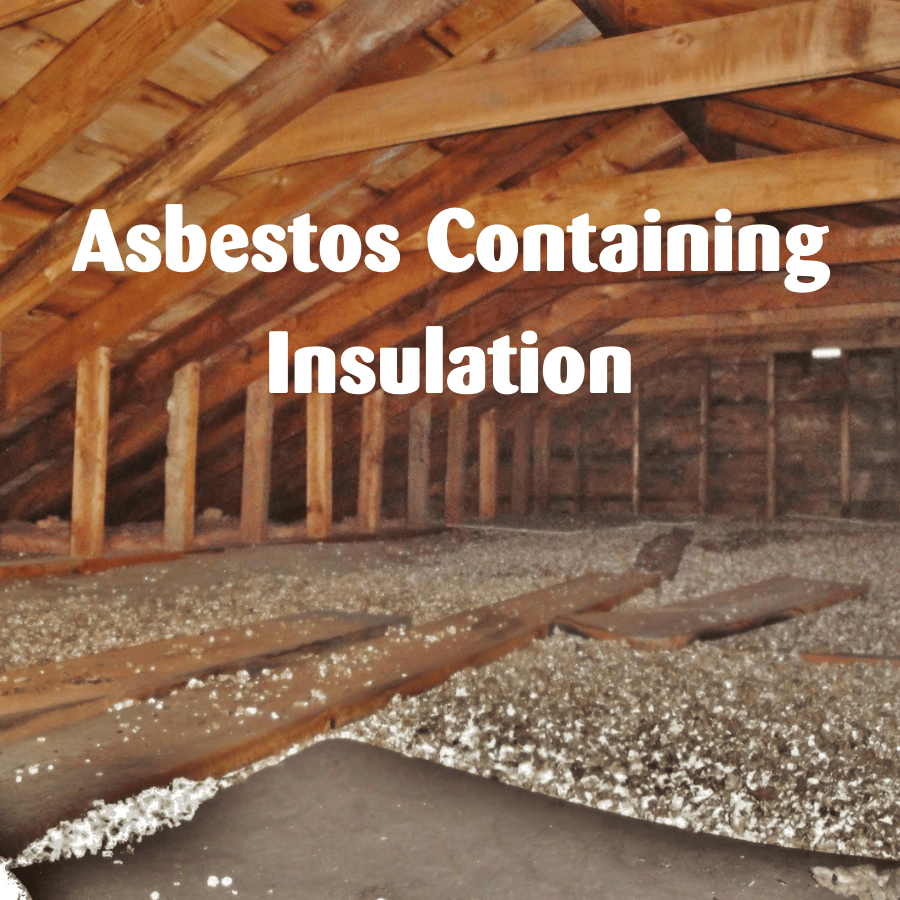
Need asbestos testing in Spokane WA? Learn what vermiculite insulation is, when to schedule an asbestos inspection and how an asbestos testing lab Spokane WA

Signs Your Spokane Attic May Contain Vermiculite

Ensure a successful real estate inspection. Use a house inspection checklist and gain confidence in your real estate decisions.

Ensure safety with essential asbestos testing in Spokane, WA. Discover reliable testing services to protect your property and health today.
Professional asbestos removal in Spokane County. Safe attic asbestos removal, AHERA inspections, containment procedures, and compliant disposal.

Learn the step-by-step vermiculite removal process in Spokane County, including AHERA inspections, SRCAA filing, containment, disposal, and re-insulation.

Can you sell a Spokane home with vermiculite insulation? Learn disclosure rules, lender concerns, buyer reactions, and whether removal is necessary.

Discover where homes containing vermiculite insulation are commonly found in Spokane, which neighborhoods are most affected, and what homeowners should know.
Learn when to schedule an asbestos inspection in Spokane, including renovation triggers, vermiculite concerns, SRCAA rules, and AHERA requirements.
Learn whether vermiculite insulation in Spokane homes contains asbestos, the health risks, inspection steps, and what to do if it’s in your attic.