Mold in Attic?
Mold in the attic isn’t just an eyesore—it’s a serious problem that can wreck your insulation, damage your roof, and affect your health. Unfortunately, it often goes unnoticed until it becomes a full-blown issue. Whether you're in Spokane, Coeur d’Alene, or anywhere mold loves to hide, here's what you need to know.
🧠 How Do You Know If You Have Mold in the Attic? (Symptoms to Watch For)
Most homeowners never think about their attic until there’s a problem. Mold usually develops silently, but here are the key warning signs:
- Musty or earthy smell upstairs or in rooms near the attic
- Stains or discoloration on ceilings or around light fixtures
- Increased allergy symptoms (sneezing, coughing, itchy eyes) without a clear cause
- Frost buildup on roof nails in winter (a sign of moisture)
- Dark or fuzzy patches on rafters, roof sheathing, or insulation
- High humidity or condensation in the attic
If any of these sound familiar, it’s time to investigate—and fast.
🛠️ What Causes Attic Mold?
Attic mold thrives on three things: moisture, organic material (like wood), and poor ventilation. Here are the most common culprits:
- ❌ Bathroom fans vented into the attic
- ❌ Blocked or clogged soffits and lack of ridge/gable vents
- ❌ Roof leaks or ice dams
- ❌ Inadequate insulation leading to warm air intrusion
- ❌ Unsealed gaps around light fixtures or plumbing
All of these create a moisture-rich environment perfect for mold growth.
🧼 How to Get Rid of Attic Mold (The Right Way)
Cleaning attic mold isn’t a DIY spray-and-pray job—it requires a professional mold remediation process to truly fix it. Here’s how we tackle it:
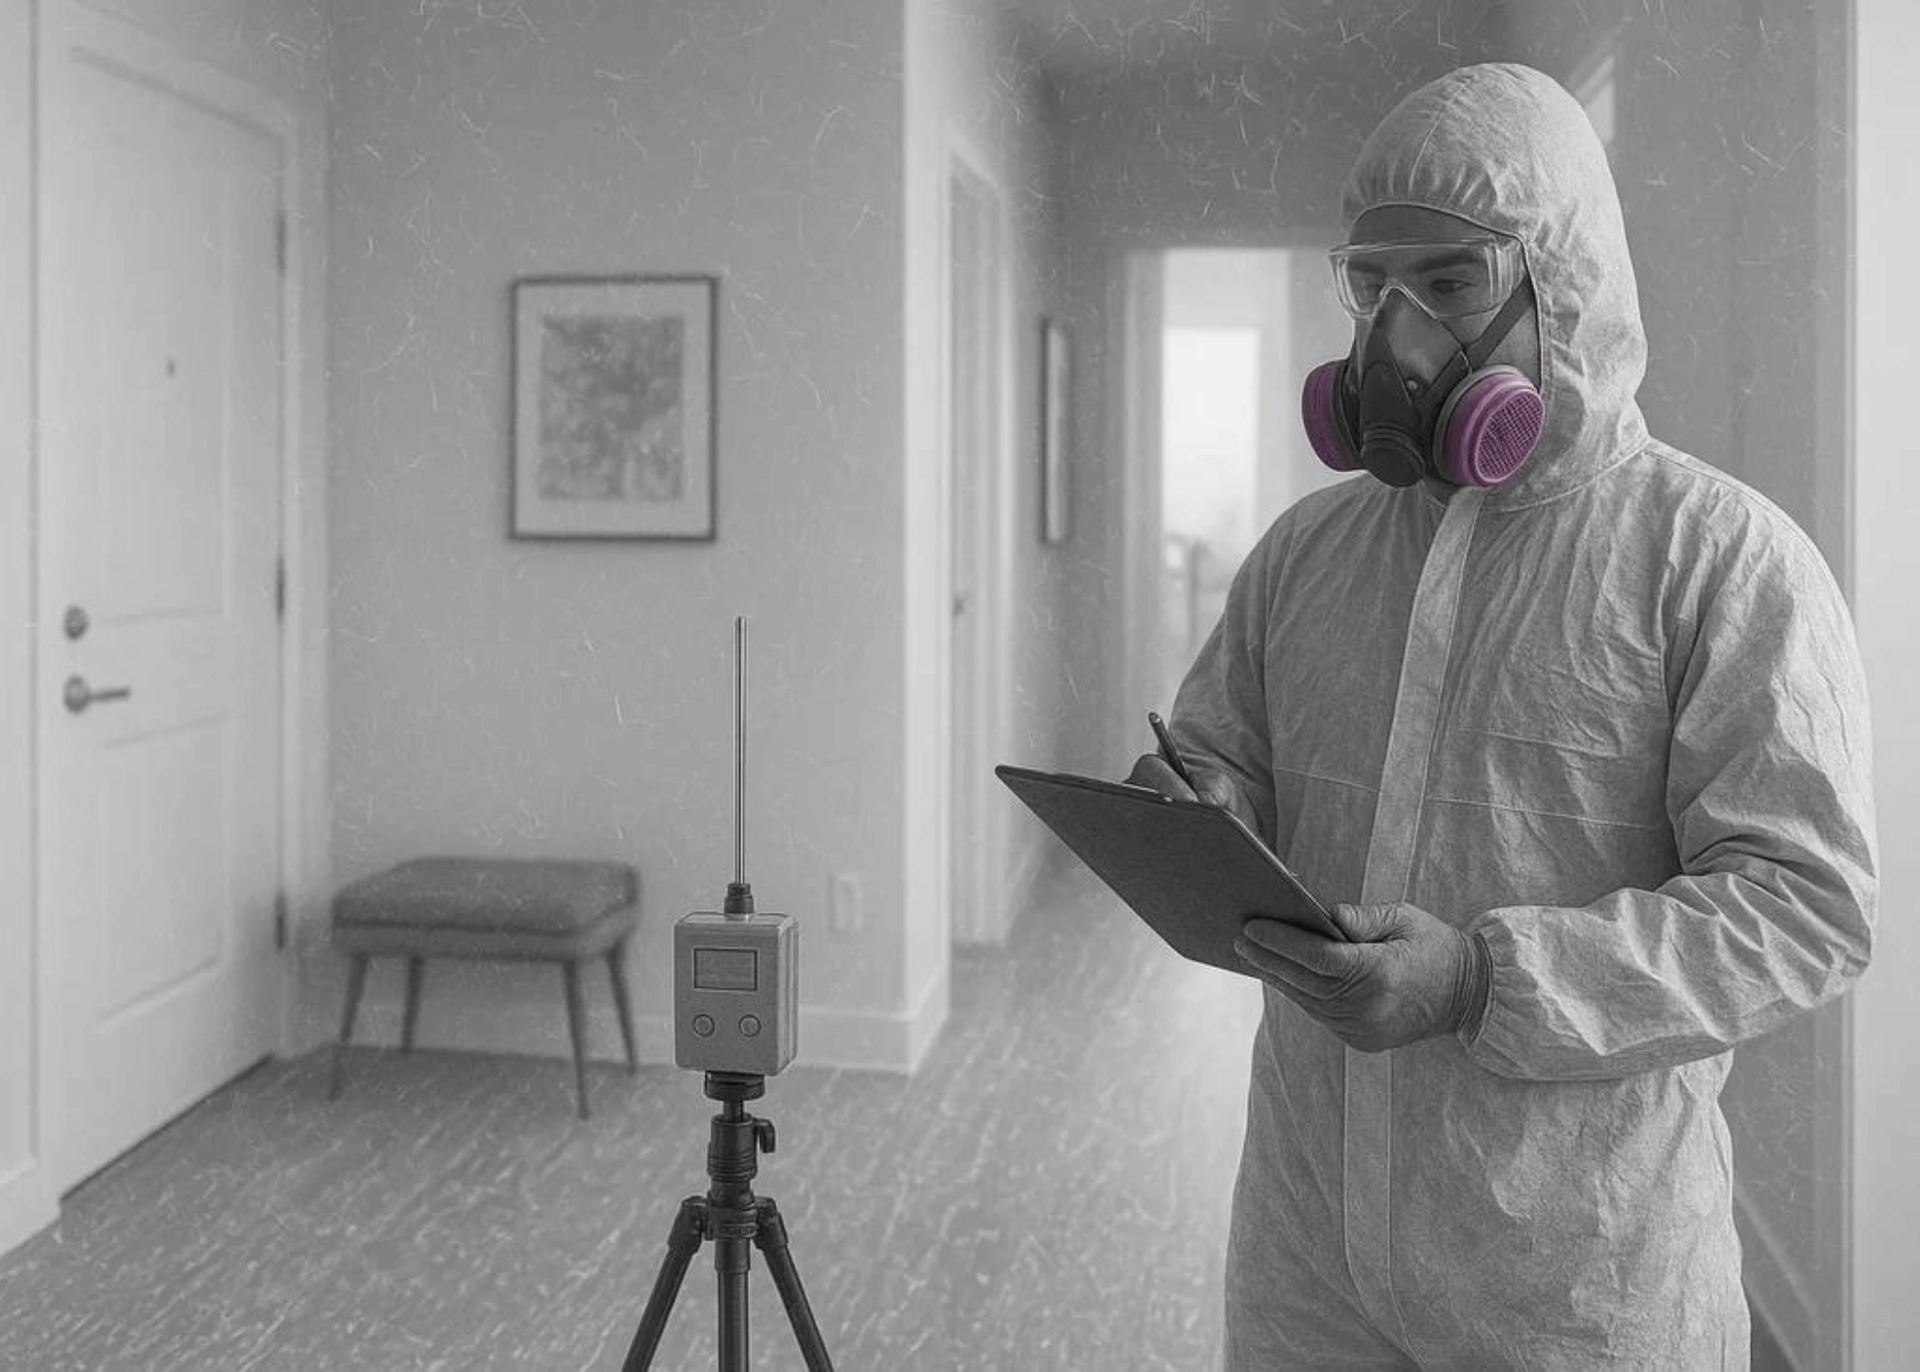
1. Inspection & Moisture Source Identification
We perform a full attic inspection to identify not just the mold—but why it’s there. Bathroom fans, roof leaks, and ventilation issues are common offenders.
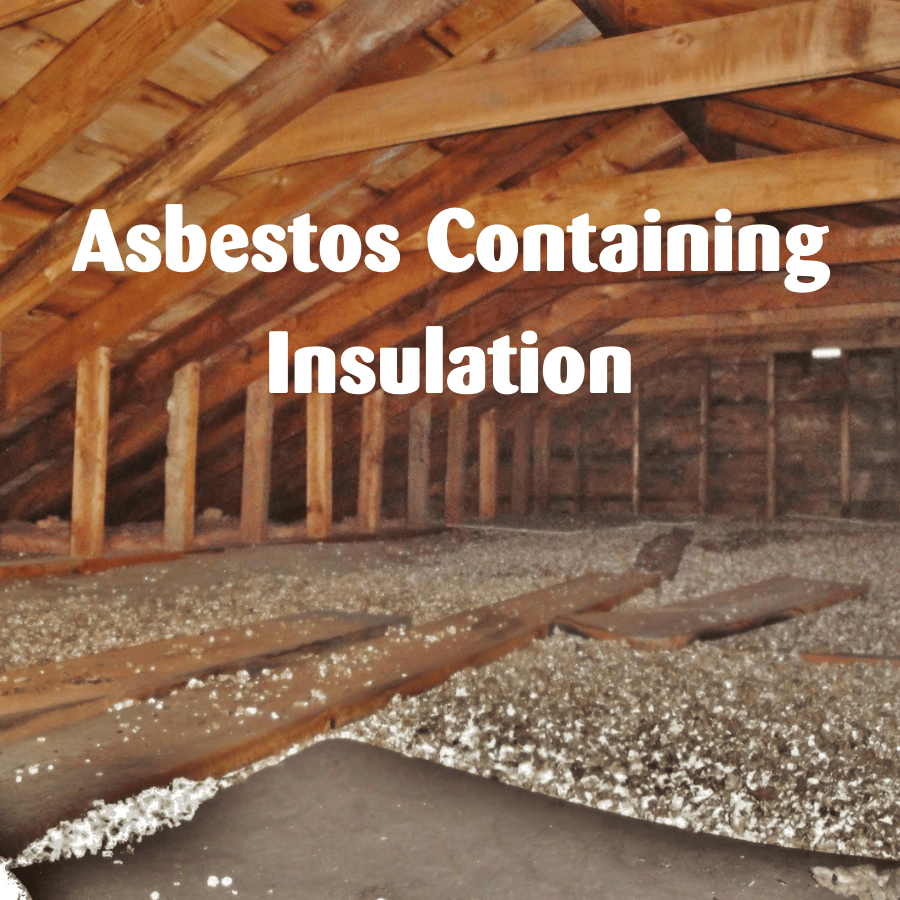
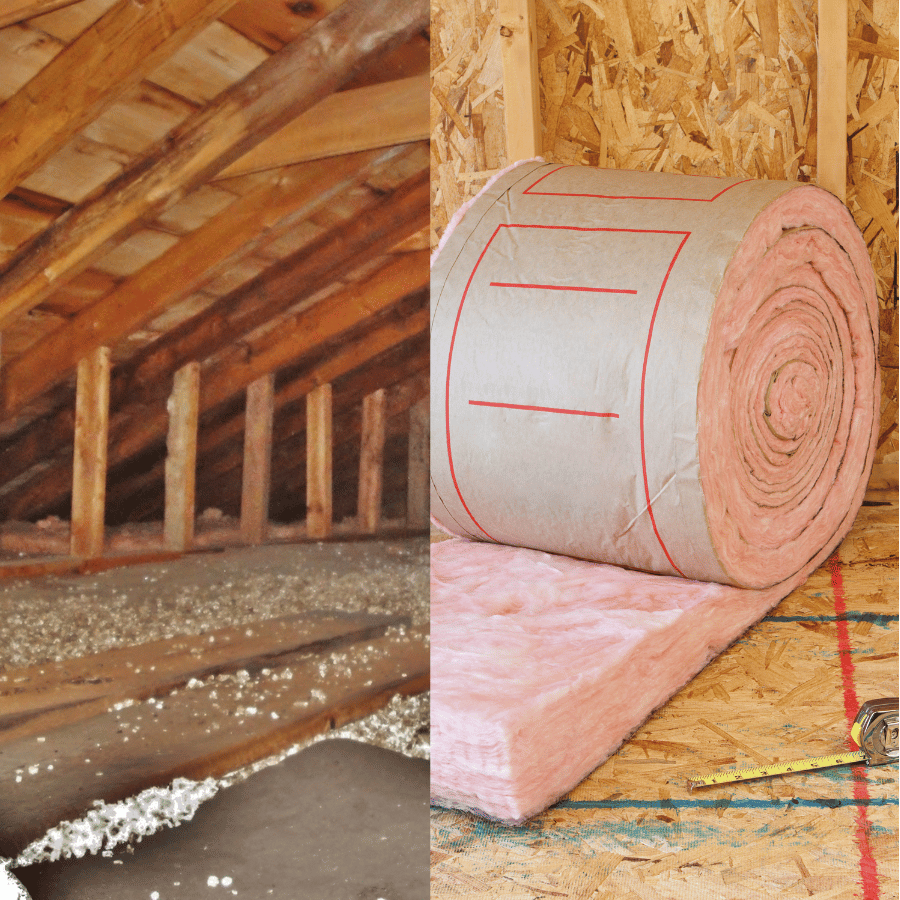
2. Attic Insulation Removal
If your insulation is mold-contaminated, it has to go. We use a high-powered attic vacuum system to safely remove and dispose of infected materials.
3. Mold Treatment & Disinfection
We apply professional-grade solutions like Vital Oxide to kill active mold spores. It’s safe, effective, and leaves no harsh chemical residue.
4. Encapsulation with Mold-Resistant Primer
To prevent mold from coming back, we apply a mold-killing primer like Zinsser Perma-White to all exposed attic surfaces. This seals the wood and blocks future mold growth.
5. Ventilation & Air Sealing Fixes
We correct any airflow issues—unclogging soffits, rerouting bathroom fans, and balancing intake/exhaust ventilation. We also air seal attic gaps to stop warm, moist air from entering.
6. Insulation Reinstallation
We install blown-in cellulose insulation, which resists mold and pests, provides excellent R-value, and performs great in extreme temperatures.
✅ How to Prevent Attic Mold from Returning
- Vent bathroom fans outside, never into the attic.
- Keep soffits unblocked and attic ventilation balanced.
- Install air sealing before insulating.
- Choose mold-resistant insulation like cellulose.
- Have your attic inspected regularly—especially after a leak, ice dam, or roof repair.
🌲 Serving Spokane & Coeur d’Alene with Trusted Mold Solutions
At Pacific Insulation & Mold Remediation, we know attics inside and out. Our mold remediation services are built to eliminate the root cause, not just treat symptoms. From inspection to encapsulation, we stand by our work—and we do it right the first time.
Think you might have attic mold? Don’t wait until it spreads.
📞 Call us today or schedule your attic inspection online.
Follow us