Proper Insulation Installation: Best Practices Guide
Learn the correct way to install insulation in walls, ceilings, and floors for optimal energy efficiency and comfort. Follow this step-by-step guide.
Essential Steps for Proper Insulation Installation
Installing insulation is a crucial step in ensuring your home is energy-efficient and comfortable. Whether you're tackling a DIY project or overseeing a professional installation, understanding the essential steps for proper insulation installation is key to achieving the best results. In this guide, we’ll explore how to install roll insulation, how to attach insulation, and the correct orientation for faced insulation.
Understanding Insulation Basics
Before diving into the installation process, it's important to understand the basics of insulation. Insulation works by reducing heat transfer, keeping your home warm in the winter and cool in the summer. The most common types of insulation include roll (or batt) insulation, fiberglass, and foam board insulation. Each type has its own installation methods and best uses.
Types of Insulation
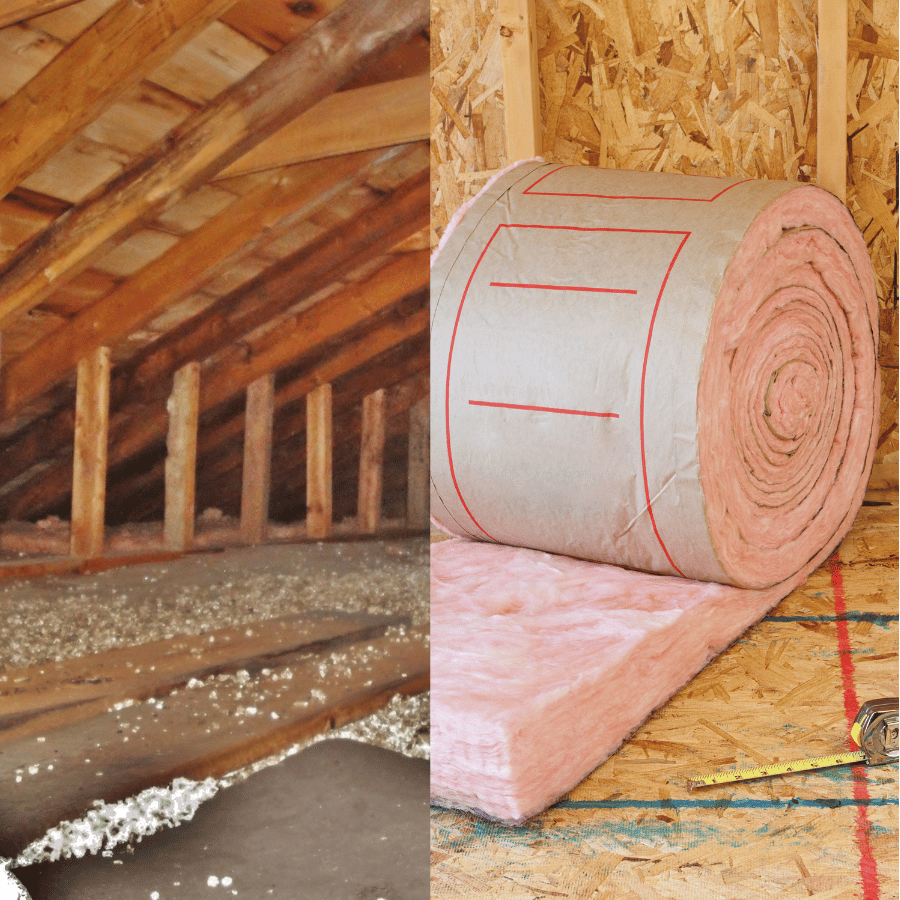
- Roll Insulation: Also known as batt insulation, it's typically made of fiberglass and comes in pre-cut lengths.
- Foam Board Insulation: Rigid panels of insulation that provide excellent thermal resistance.
- Spray Foam Insulation: Applied using a spray canister, it expands to fill spaces and is ideal for irregularly shaped areas.
Preparing for Insulation Installation
Proper preparation is crucial for successful insulation installation. Here are the steps to take before you begin:
Gathering Materials
Ensure you have all the necessary materials and tools:
- Insulation rolls or batts
- Utility knife
- Measuring tape
- Stapler and staples
- Protective gear (gloves, mask, goggles)
Measuring the Area
Measure the area you plan to insulate. Knowing the dimensions will help you determine how much insulation you'll need.
Safety Precautions
Insulation can be irritating to the skin and lungs, so wearing protective gear is essential. Gloves, masks, and goggles will protect you from irritation and dust.
Step-by-Step Guide to Insulation Installation
Step 1: Installing Roll Insulation in Walls
- Measure and Cut: Measure the height of the wall cavities and cut the insulation to fit. Use a utility knife for clean cuts.
- Position the Insulation: Place the insulation roll or batt into the wall cavity. Make sure it fits snugly without being compressed, as compression can reduce its effectiveness.
- Facing Direction: If you're using faced insulation, the paper or foil side should face the interior of the room. This acts as a vapor barrier to prevent moisture from entering the wall.
- Secure the Insulation: Use a stapler to attach the paper flanges of the insulation to the wooden studs. Space the staples about 8 to 12 inches apart.
Step 2: Installing Insulation in Ceilings
- Access the Area: If you're working in an attic, ensure safe access to the work area. Lay down boards to walk on if necessary.
- Lay the Insulation: Start at one end of the ceiling and lay the insulation between the joists. If the insulation is wider than the space, trim it to fit.
- Facing Direction: Similar to walls, the paper side of faced insulation should face down towards the living space.
- Secure the Insulation: Use staples to attach the insulation to the joists. Be careful not to compress the insulation.
Step 3: Installing Insulation in Floors
- Prepare the Space: If you're insulating an unfinished basement or crawl space, clear the area of any debris.
- Position the Insulation: Fit the insulation between the floor joists. Ensure it fits snugly but isn’t compressed.
- Facing Direction: For floors, the facing should be towards the heated side of the space. In a basement, this means the facing is up against the floor.
- Secure the Insulation: Staple the insulation to the floor joists, ensuring it stays in place.
Tips for Effective Insulation Installation
Avoid Compression
Compressed insulation loses its ability to trap air and reduce heat transfer. Ensure the insulation fits snugly without being squeezed.
Seal Gaps
Inspect the area for any gaps or cracks and seal them with caulk or foam sealant. This prevents air leaks and enhances the insulation’s effectiveness.
Check for Moisture
Moisture can reduce the effectiveness of insulation and lead to mold growth. Address any moisture issues before installing insulation.
Consider Vapor Barriers
In some climates, adding a separate vapor barrier can enhance moisture control. Consult local building codes to determine if this is necessary for your project.
Final Thoughts on Insulation Installation
Proper insulation installation is a cost-effective way to improve your home's energy efficiency and comfort. By following these steps, you can ensure your insulation performs optimally. Whether you're installing roll insulation in walls, hanging insulation in ceilings, or placing insulation in floors, attention to detail and adherence to best practices will yield the best results.
Remember, if you're unsure about any step in the process or have a particularly challenging area to insulate, consulting with a professional can provide additional peace of mind and ensure the job is done right. With the right preparation and execution, you'll enjoy the benefits of a well-insulated home for years to come.
Follow us