How to verify a Contractor's License in Washington State
Gus Koedding • January 23, 2025
To check a contractor's license in Washington State, you can use the Washington State Department of Labor & Industries (L&I) website. Here's how you can do it:
Steps to Verify a Contractor's License:
- Visit the L&I Website:
- Go to the Washington State Department of Labor & Industries Contractor Verification Tool: https://lni.wa.gov/licensing-permits/contractors/hiring-a-contractor/verify-contractor-tradesperson-business
- Enter the Contractor's Information:
- You can search using:
- The contractor’s name.
- Their business name.
- Their contractor license number.
- Enter the details in the search box and click Search.
- Review the Results:
- Look for:
- Active License Status: Ensures the contractor is currently licensed.
- Bond and Insurance Information: Verify they have the required bond and liability insurance.
- Registration Details: Confirms they are registered with the state.
- Violation History: Check for any past infractions or unresolved claims.
- Cross-Check Additional Details (Optional):
- Confirm the contractor’s name and business information match the details on the website.
- Check reviews and testimonials for more insight into their work.
What to Look for in a Licensed Contractor:
- Active Registration: The license should be current.
- Bonding and Insurance: Verify that they have the required general liability insurance and a bond to protect you in case of damages or non-compliance.
- No Red Flags: Look for a clean record with no unresolved violations or lawsuits.
Why It’s Important
- Hiring a licensed contractor ensures they are compliant with Washington state laws and regulations.
- Licensed contractors are bonded and insured, providing you with financial protection in case of damages or unfinished work.
If you'd like, I can help guide you through the process further or look up a specific contractor for you!
Follow us
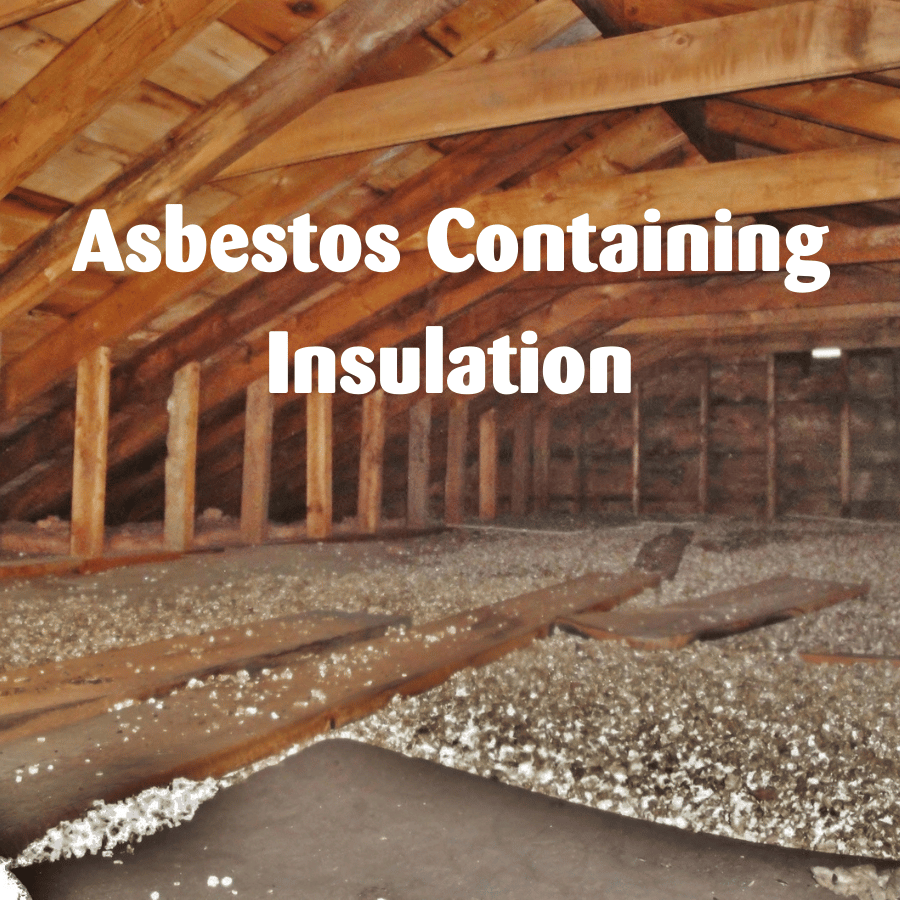
Need asbestos testing in Spokane WA? Learn what vermiculite insulation is, when to schedule an asbestos inspection and how an asbestos testing lab Spokane WA
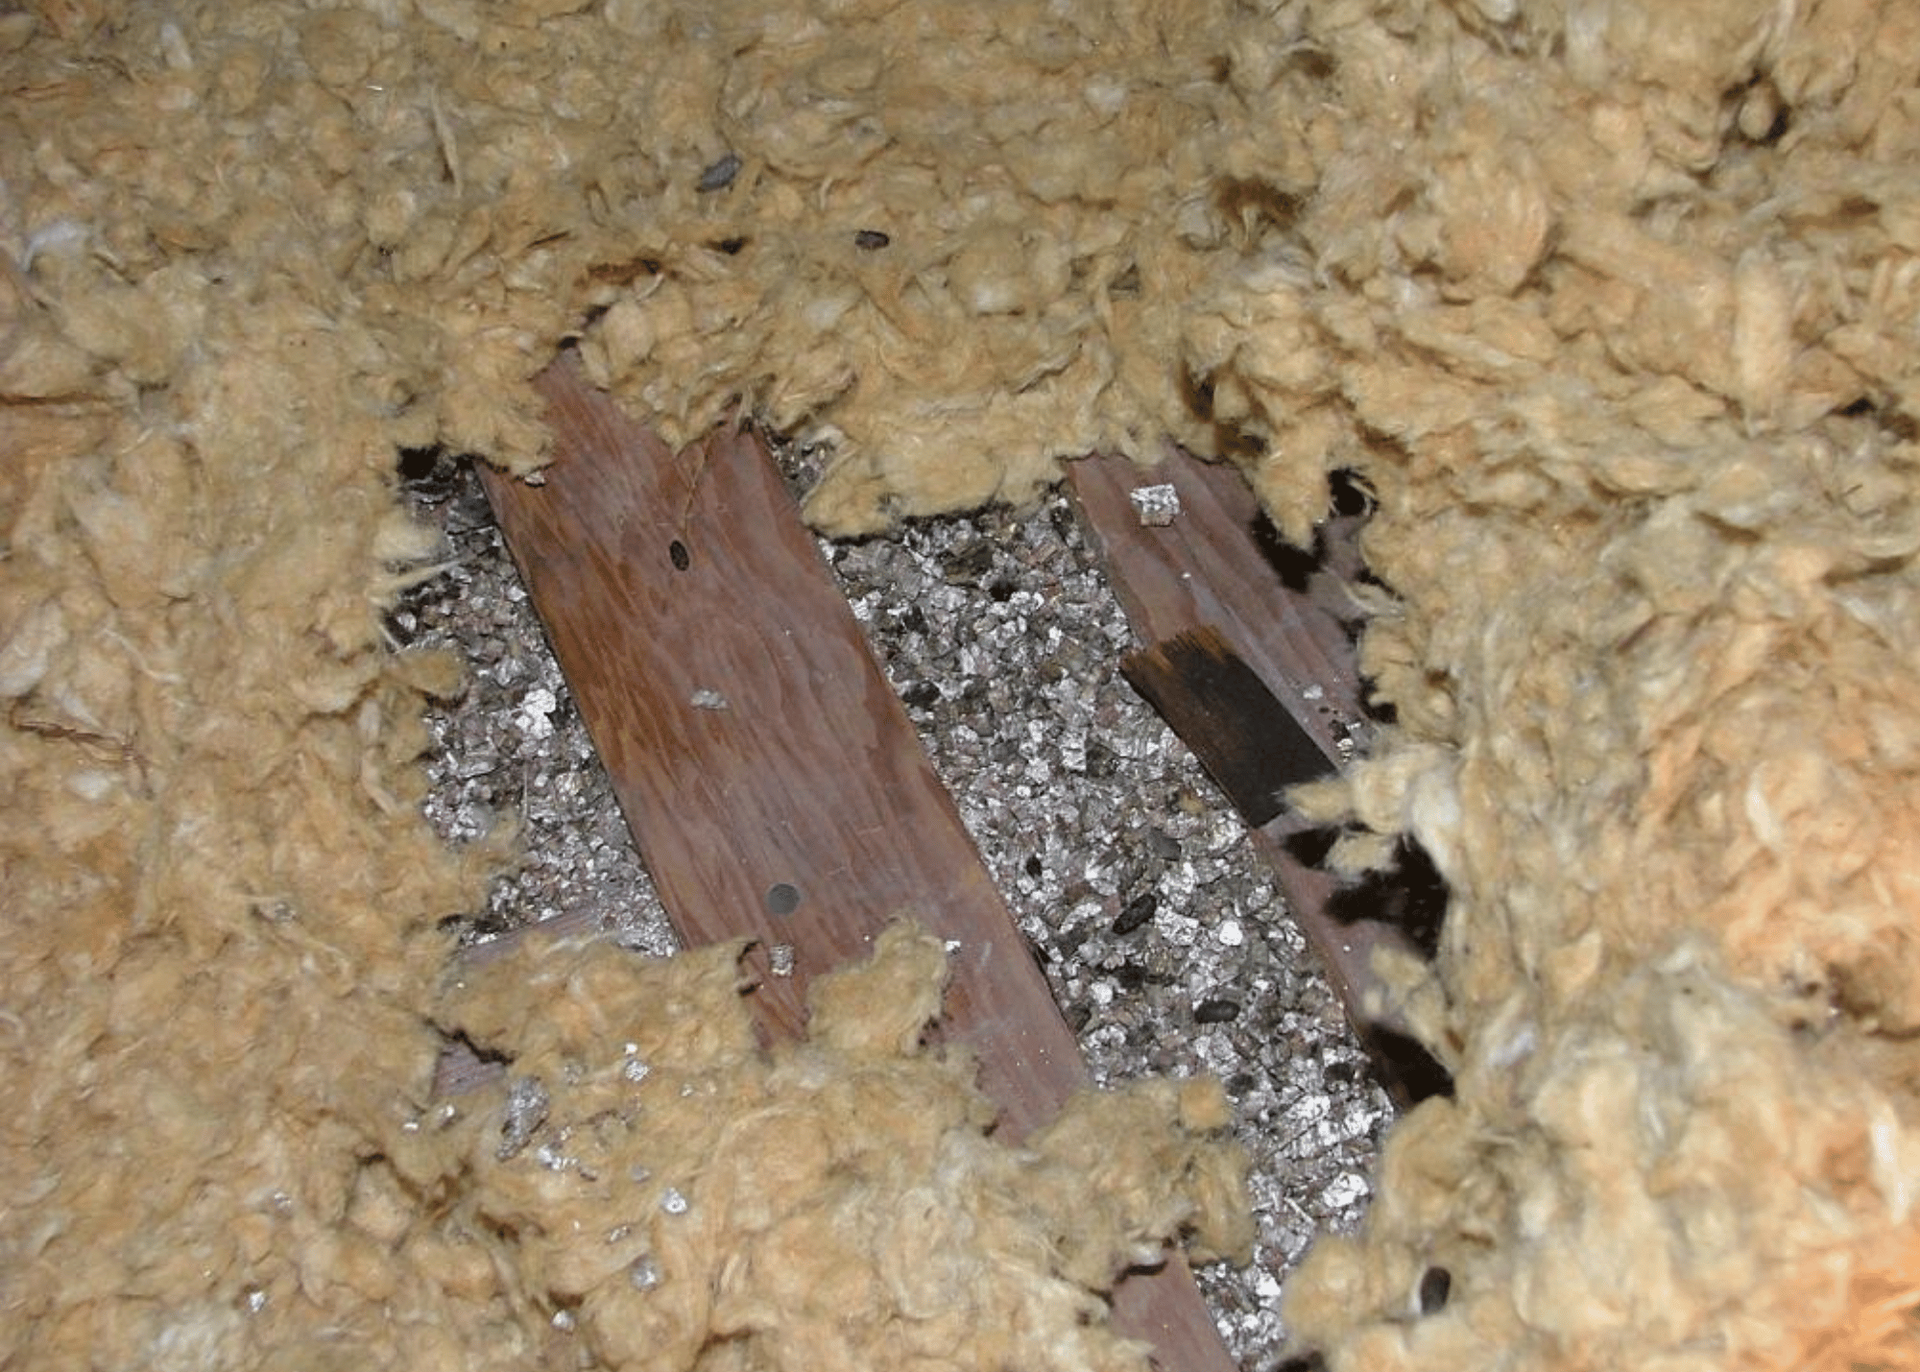
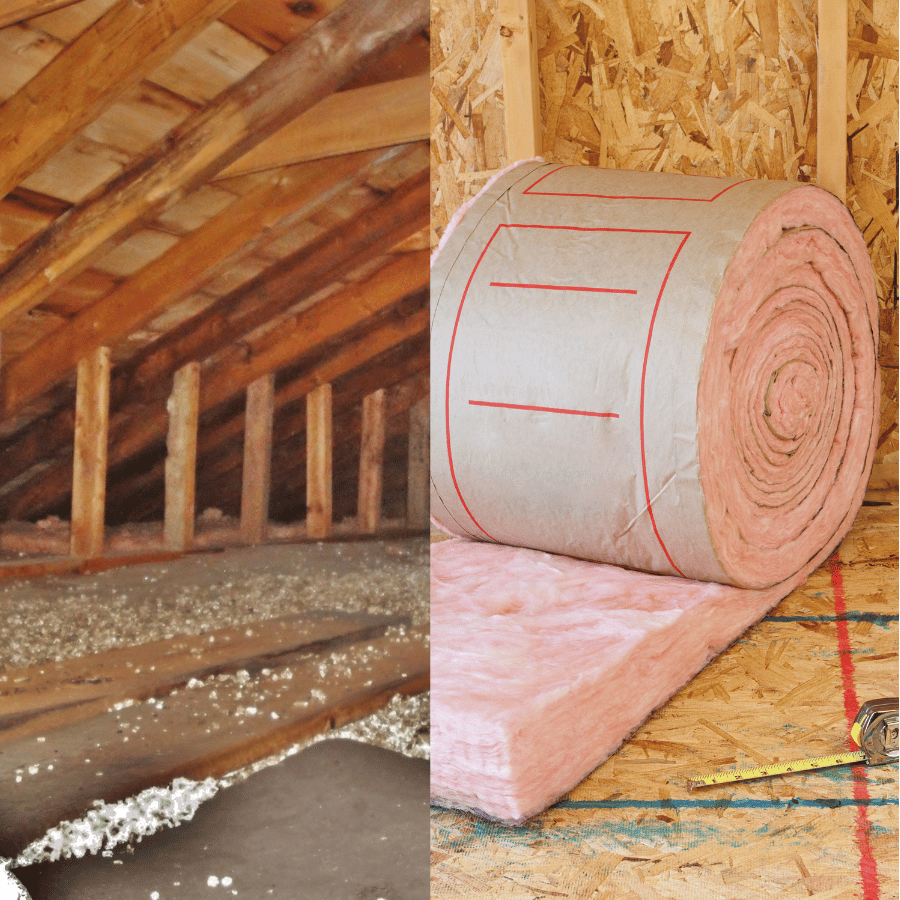
Signs Your Spokane Attic May Contain Vermiculite

Ensure a successful real estate inspection. Use a house inspection checklist and gain confidence in your real estate decisions.
Ensure safety with essential asbestos testing in Spokane, WA. Discover reliable testing services to protect your property and health today.
Professional asbestos removal in Spokane County. Safe attic asbestos removal, AHERA inspections, containment procedures, and compliant disposal.
Learn the step-by-step vermiculite removal process in Spokane County, including AHERA inspections, SRCAA filing, containment, disposal, and re-insulation.

Can you sell a Spokane home with vermiculite insulation? Learn disclosure rules, lender concerns, buyer reactions, and whether removal is necessary.

Discover where homes containing vermiculite insulation are commonly found in Spokane, which neighborhoods are most affected, and what homeowners should know.
Learn when to schedule an asbestos inspection in Spokane, including renovation triggers, vermiculite concerns, SRCAA rules, and AHERA requirements.
Learn whether vermiculite insulation in Spokane homes contains asbestos, the health risks, inspection steps, and what to do if it’s in your attic.